

What is Finish Carpentry
Finish carpentry is the final step in the carpentry process. It involves the installation of finish woods and trims. It might seem simple, but the finish carpentry is what people see — it needs to be completed well and correctly. A certain level of woodworking and attention to detail skills are required to produce tight joints and precise installation.
Types of Finish Carpentry
Finish carpentry includes installation of elements such as:
- Baseboards
- Crown Molding
- Casing (Trim around doors & windows)
- Doors
- Stair Banisters
- Hardware
- And More!
The Process of Finish Carpentry
Measure, cut, attach, repeat are the main steps involved in finish carpentry. Below we explain and go into further detail about the process of one example of finish carpentry – installing door casing.
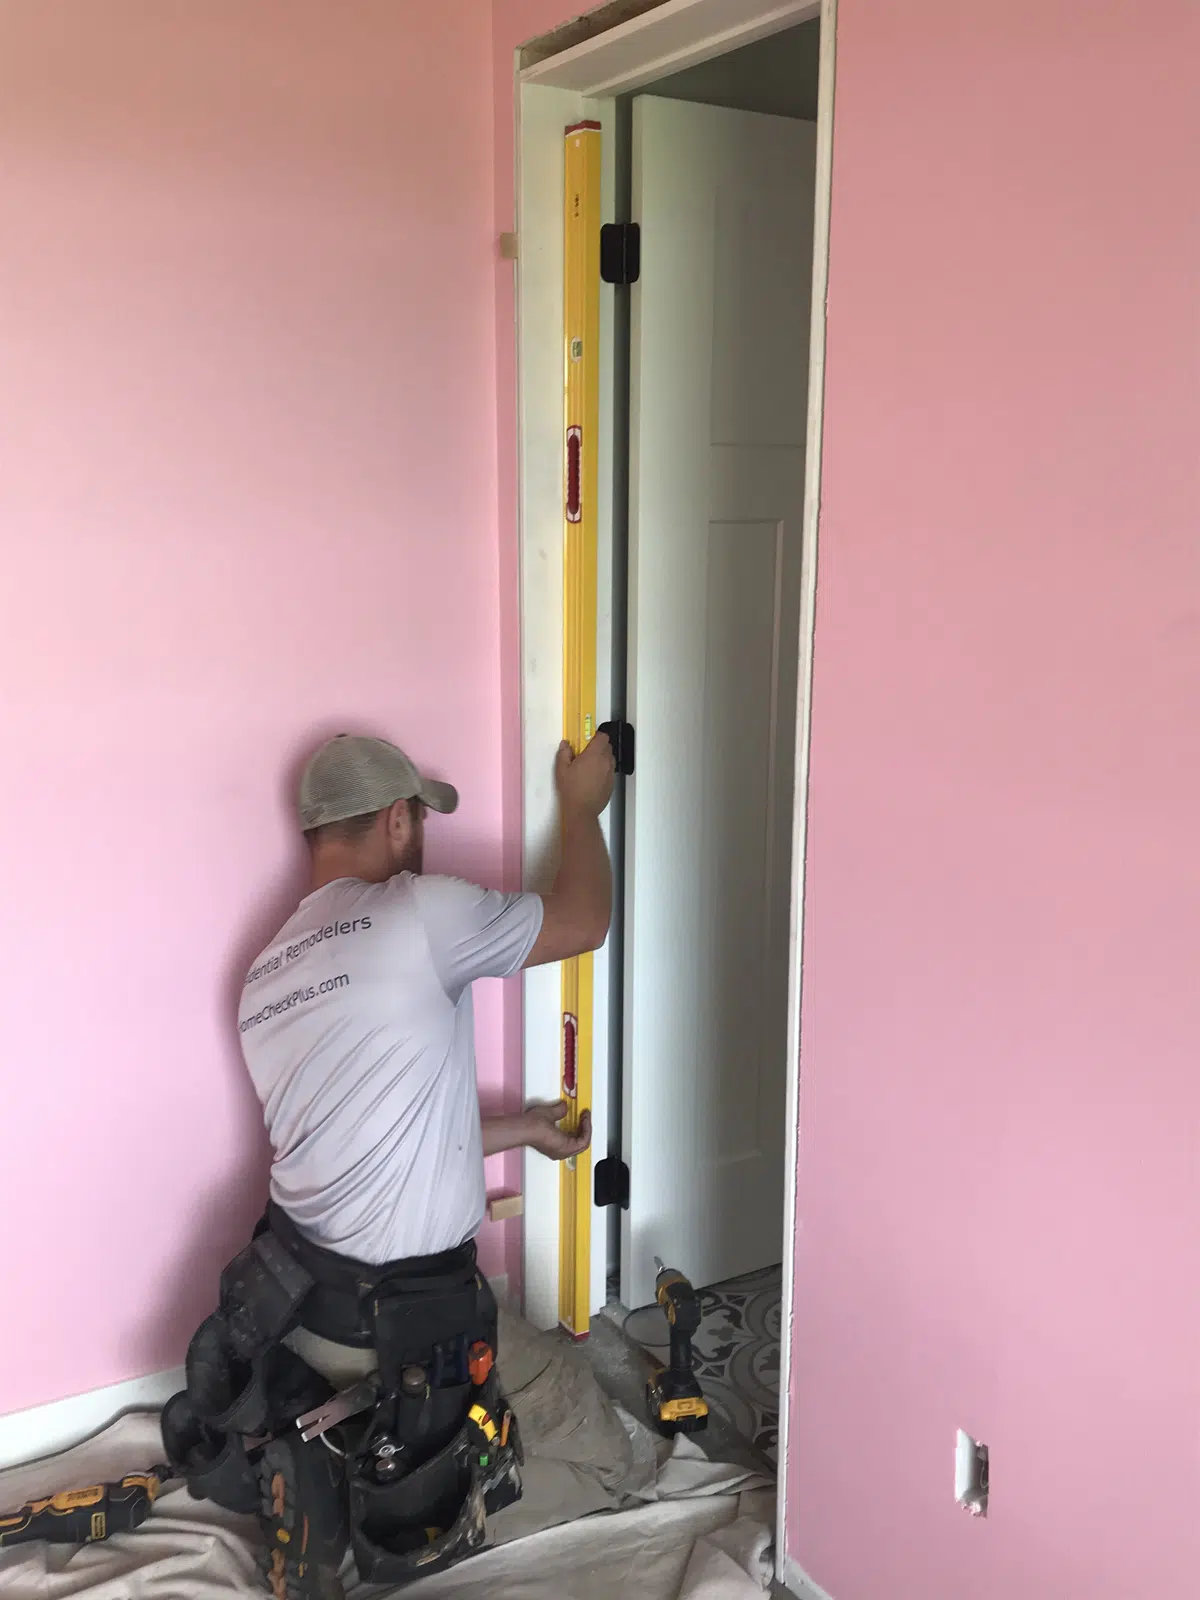
Setting the Door
The first step is to set the door, using shims to make sure it is level and square.
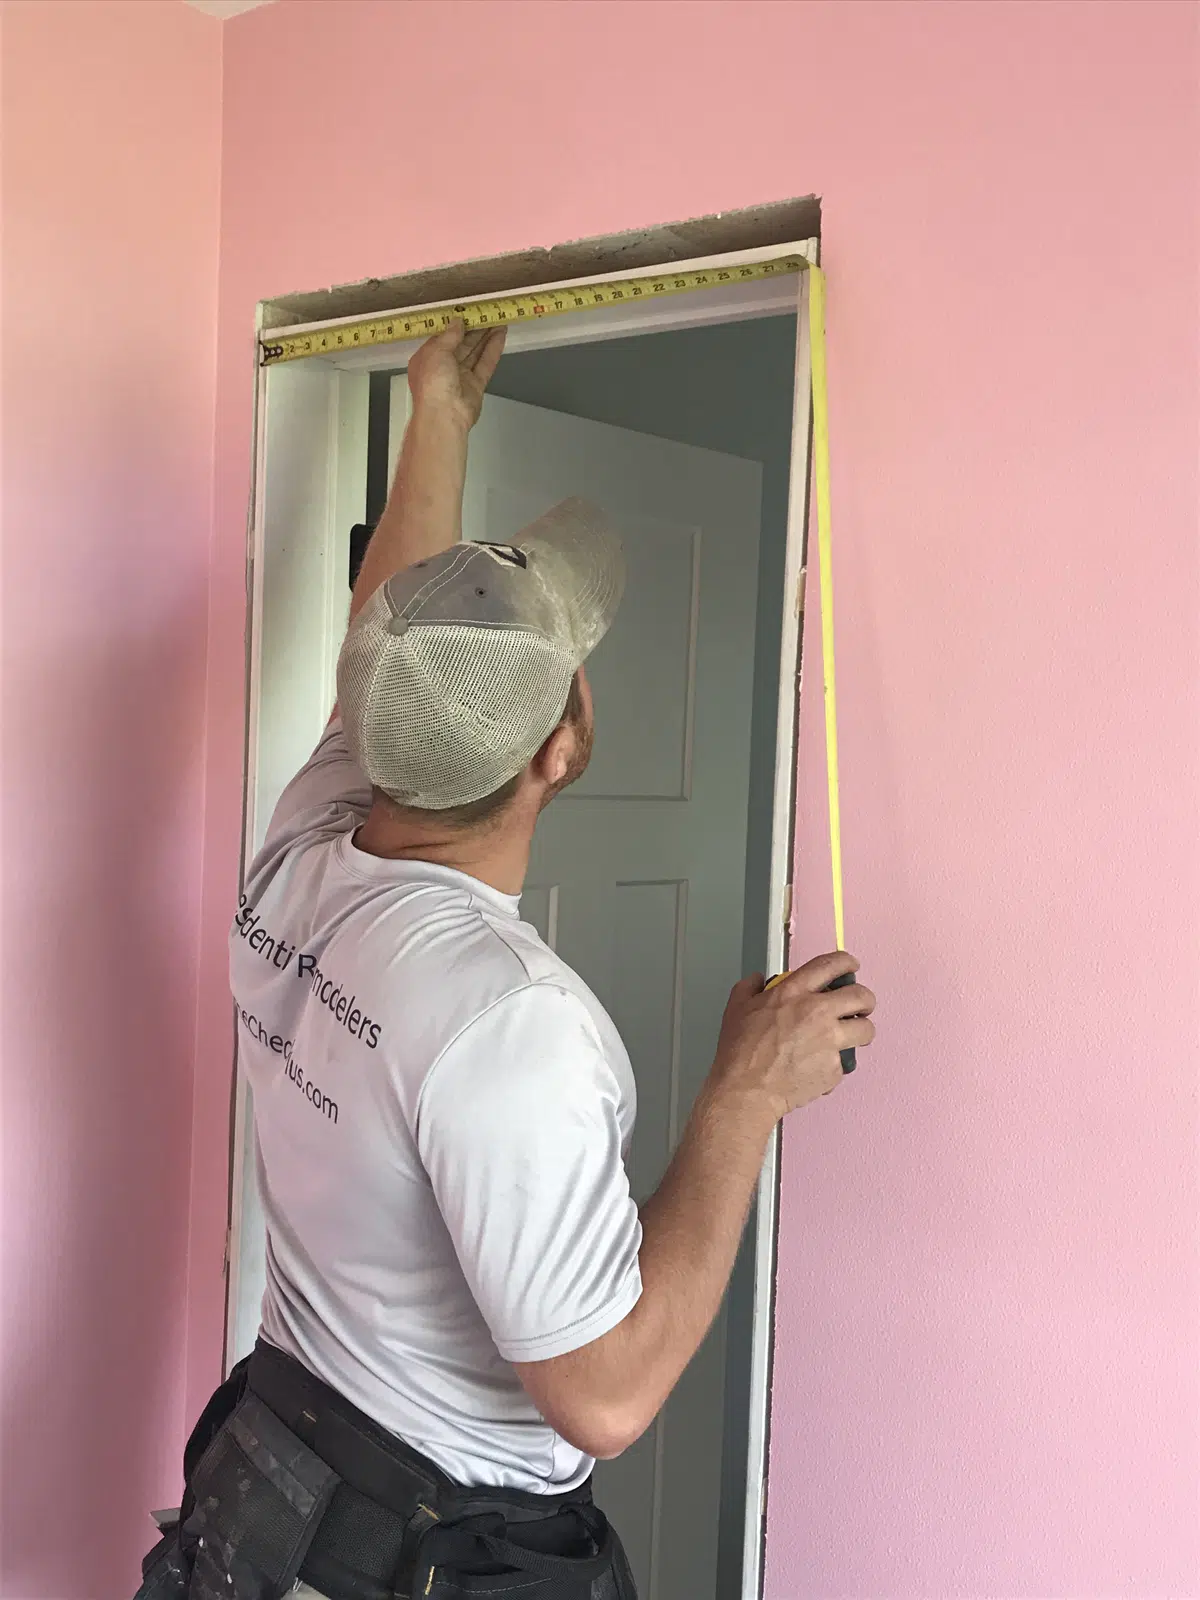
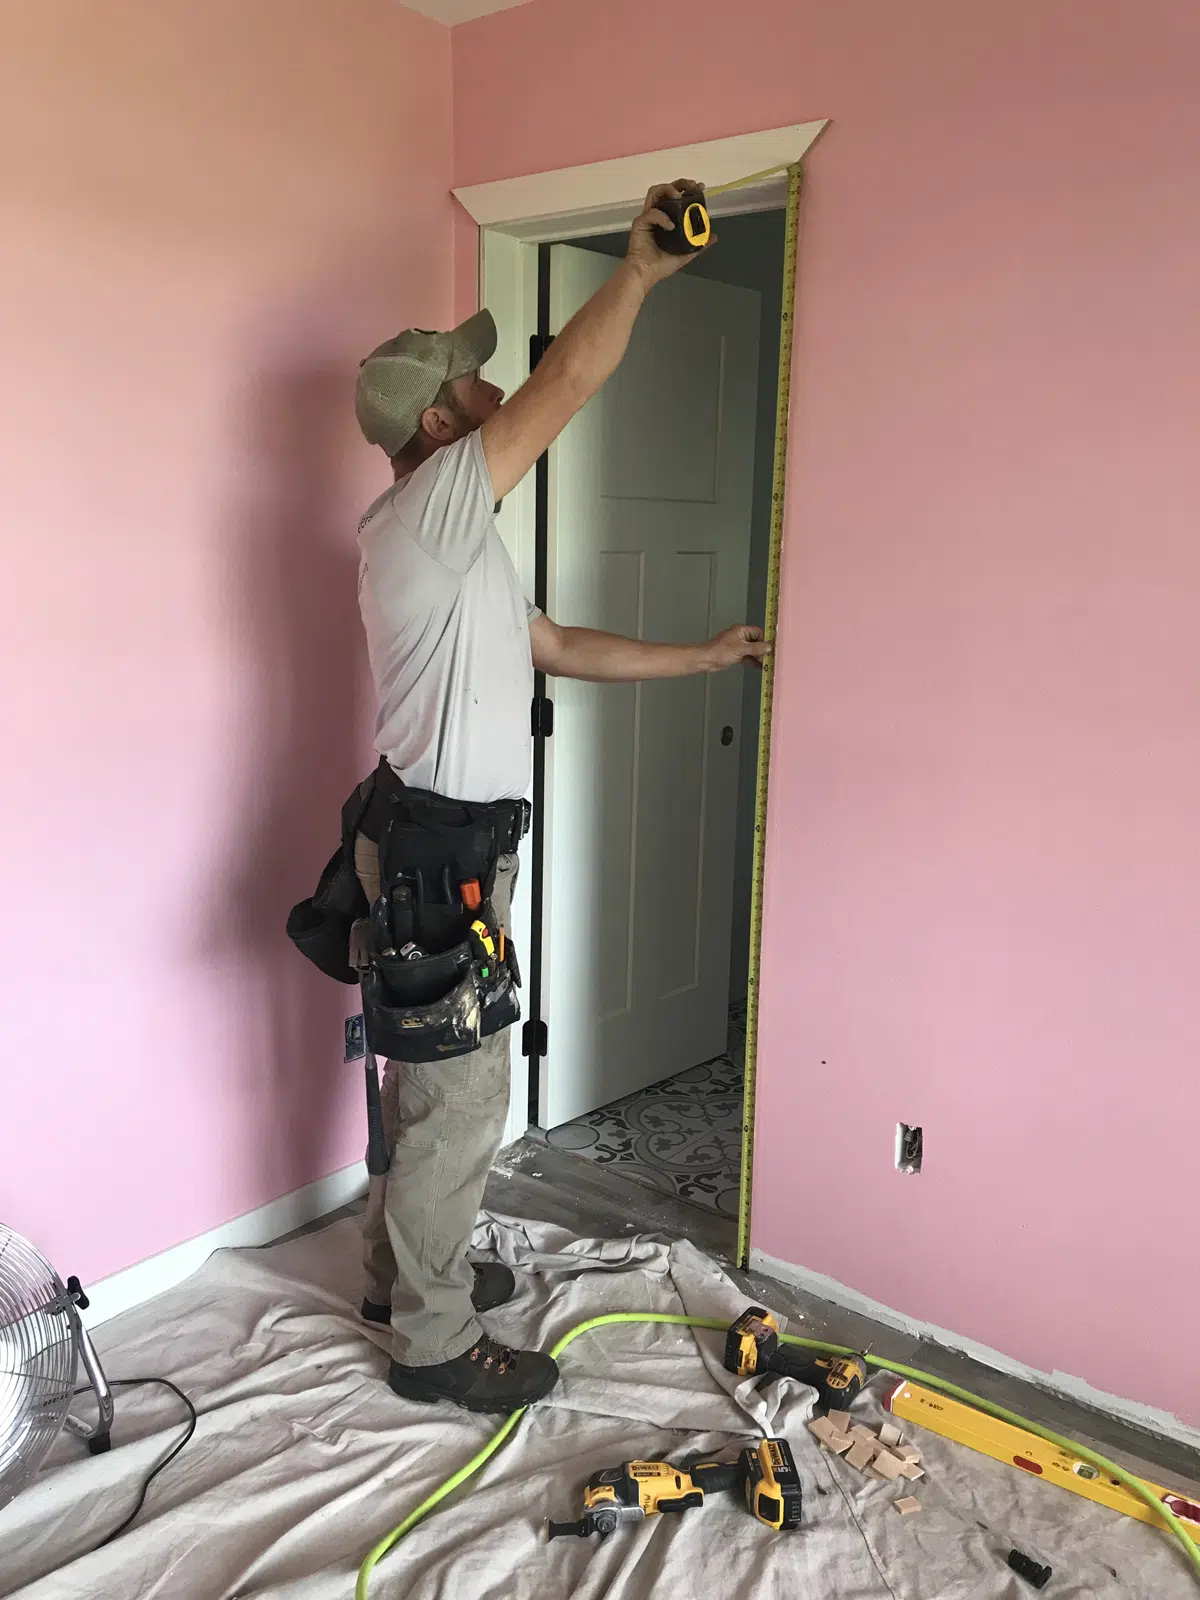
Measure Top Casing
The top casing is installed first. When measuring, you want to fit the opening plus the reveal, which is generally 1/4″ on each side.
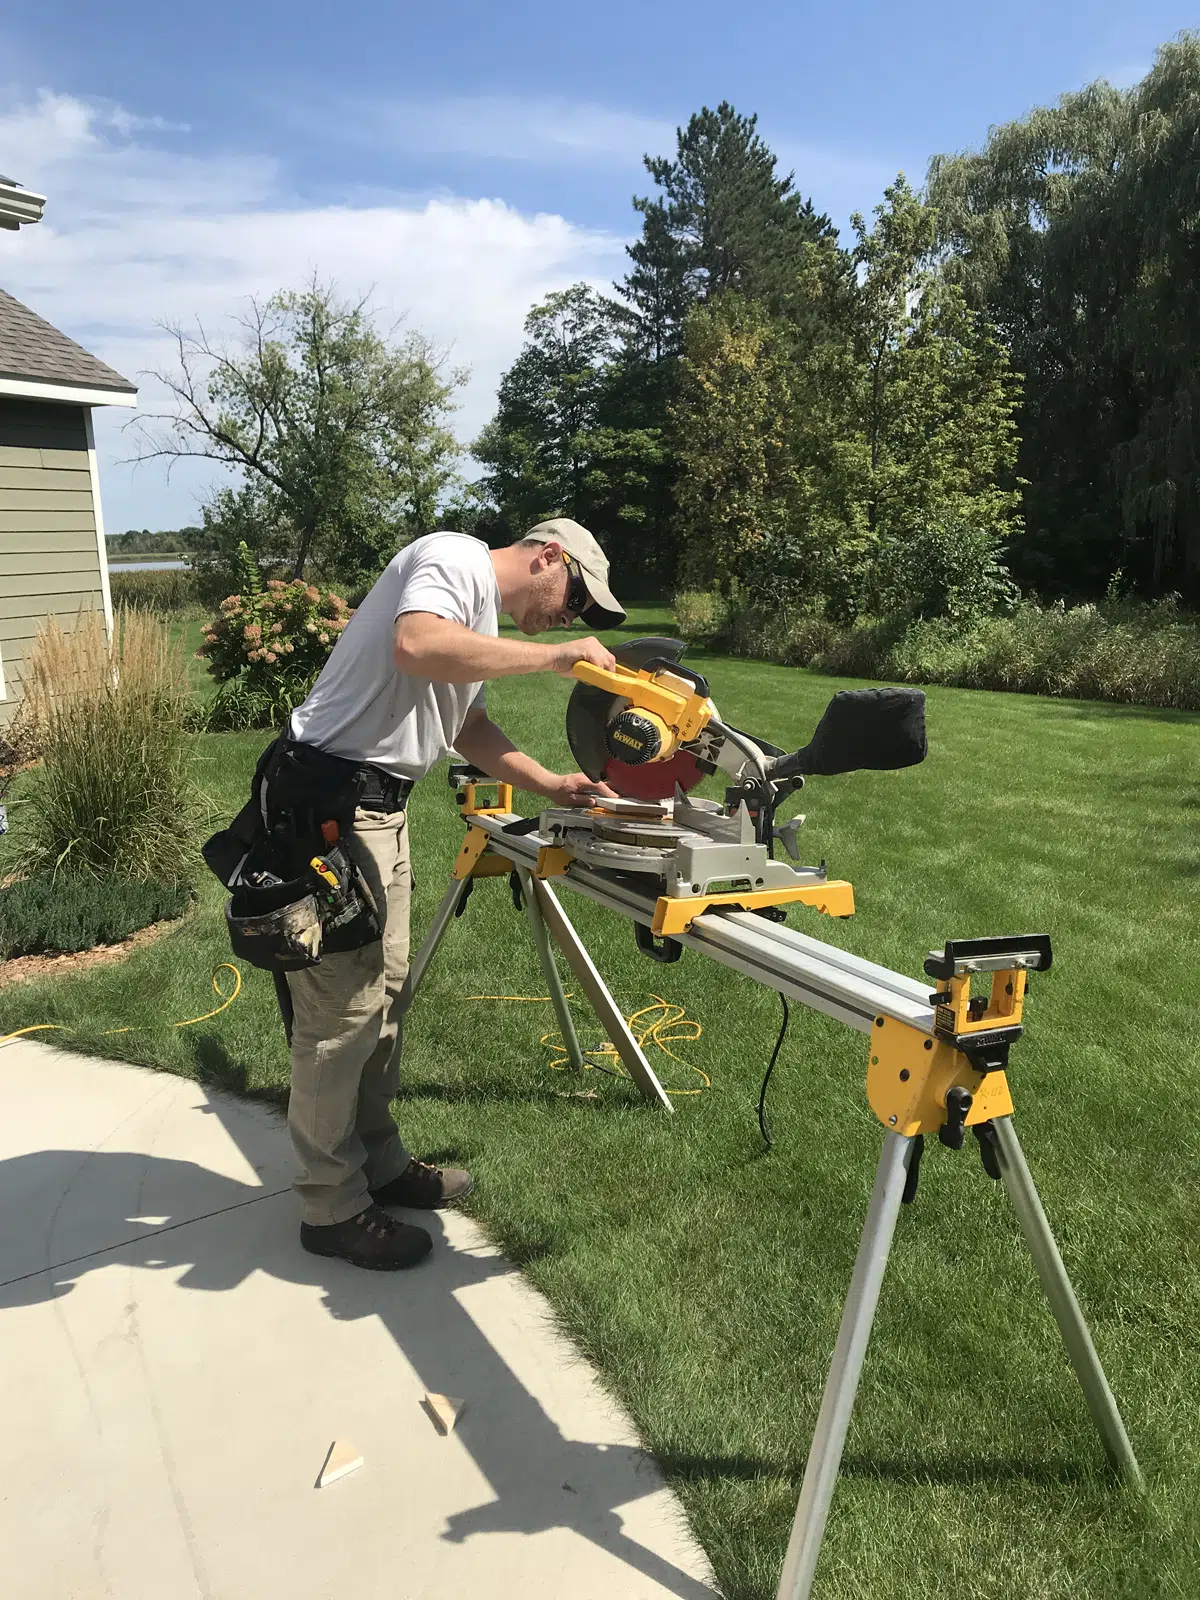
Cut Top Casing
Using a miter saw, set up a jig to properly cut both ends of the top casing piece at a 45 degree angle. A sharp blade is essential to get a clean and accurate cut.
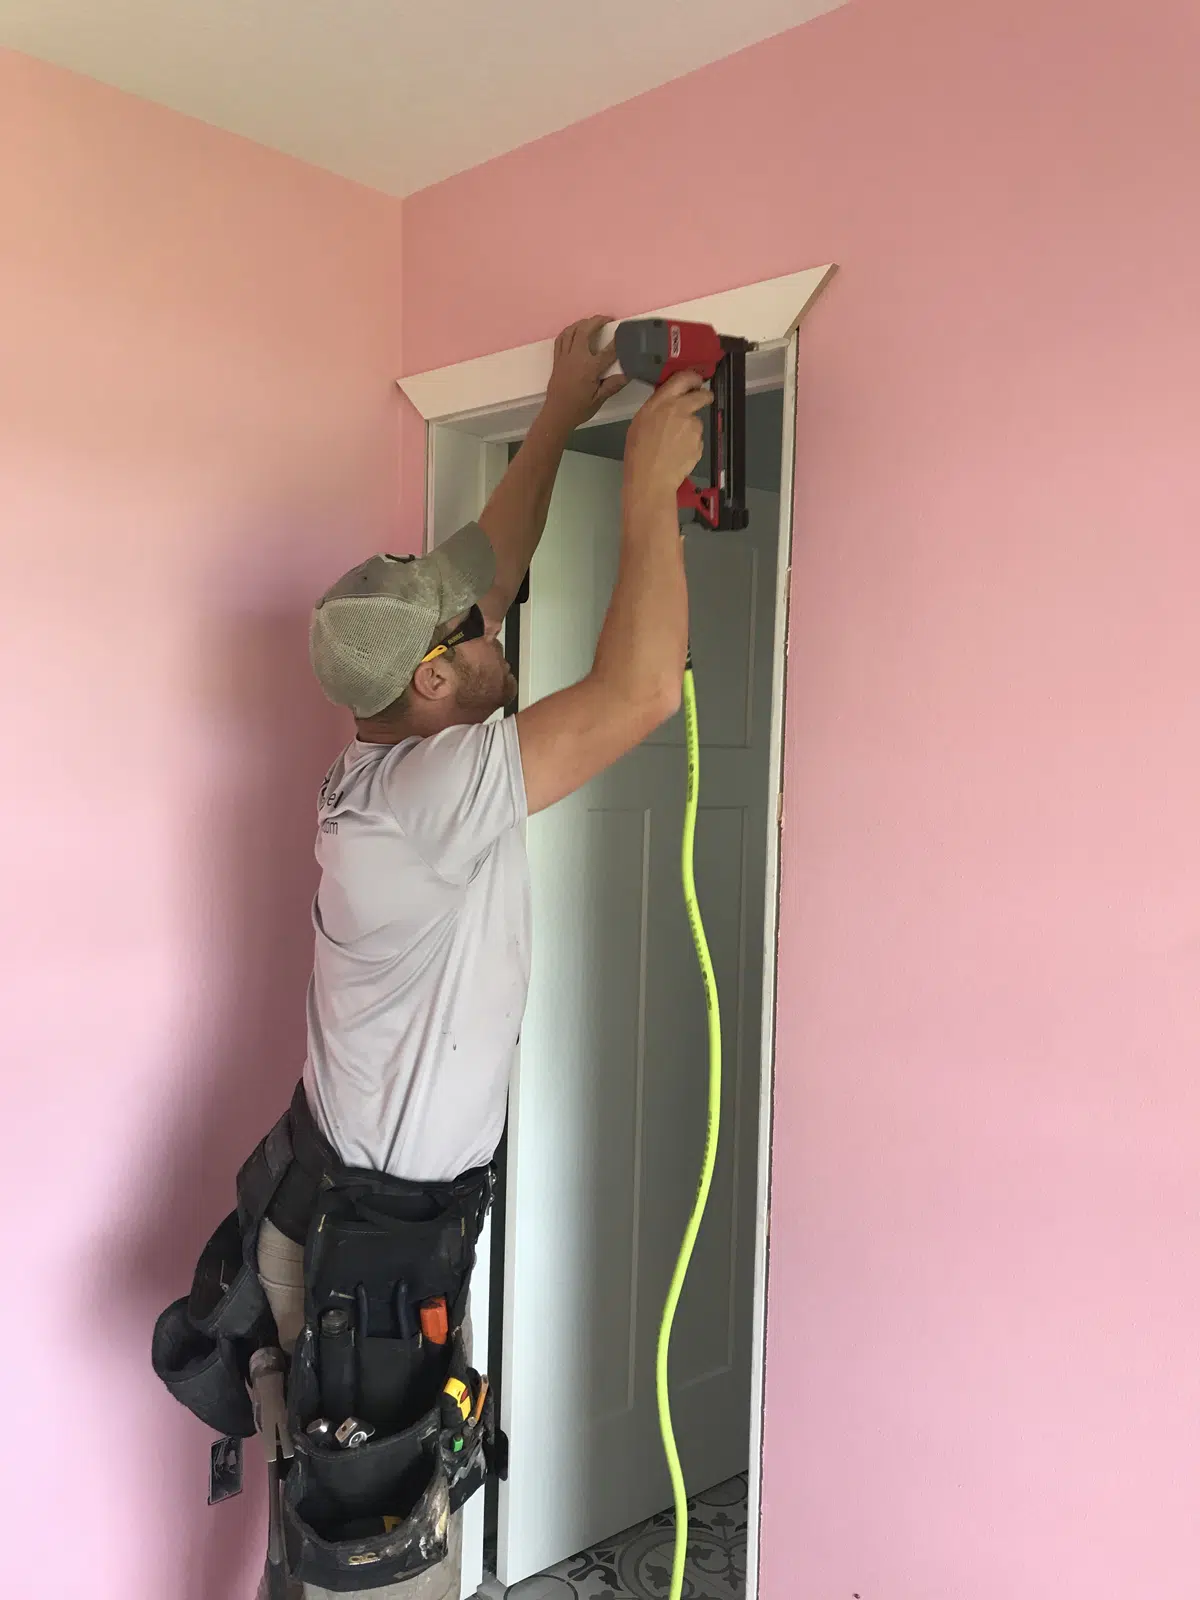
Attach Top Casing
When attaching the top casing it is important to make sure it fits tight to the door jam. An 18 gauge finish gun with one inch nail is the most common application method for residential door casing.
Measure Side Casing
After the top casing is installed, the next step is to measure the sides. For hard flooring materials (vinyl, wood, etc), the casing is installed after the flooring. Whereas with carpet, the casing is installed before, so when measuring it is key to allow for the thickness of the carpet.
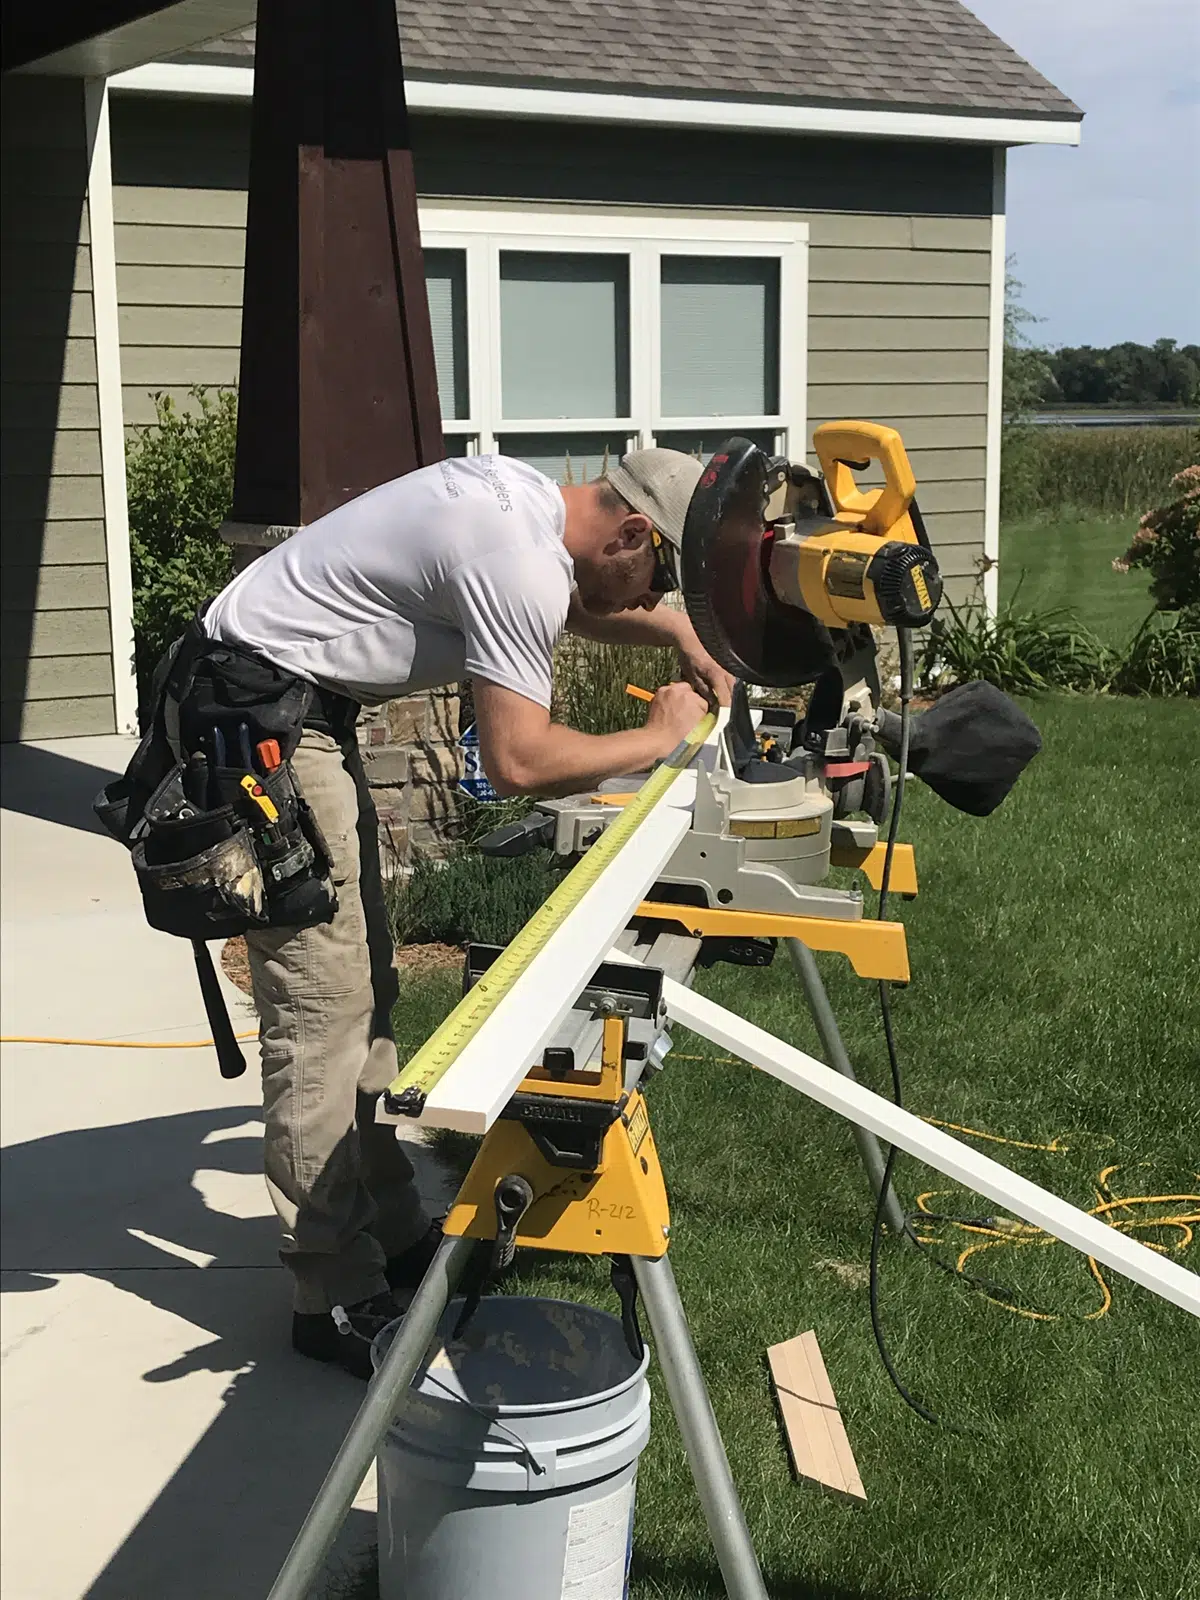
Cut Side Casing
During the cutting process, the casing should remain flat to ensure proper angle. As you can see, table extensions are great for cutting longer pieces of casing.
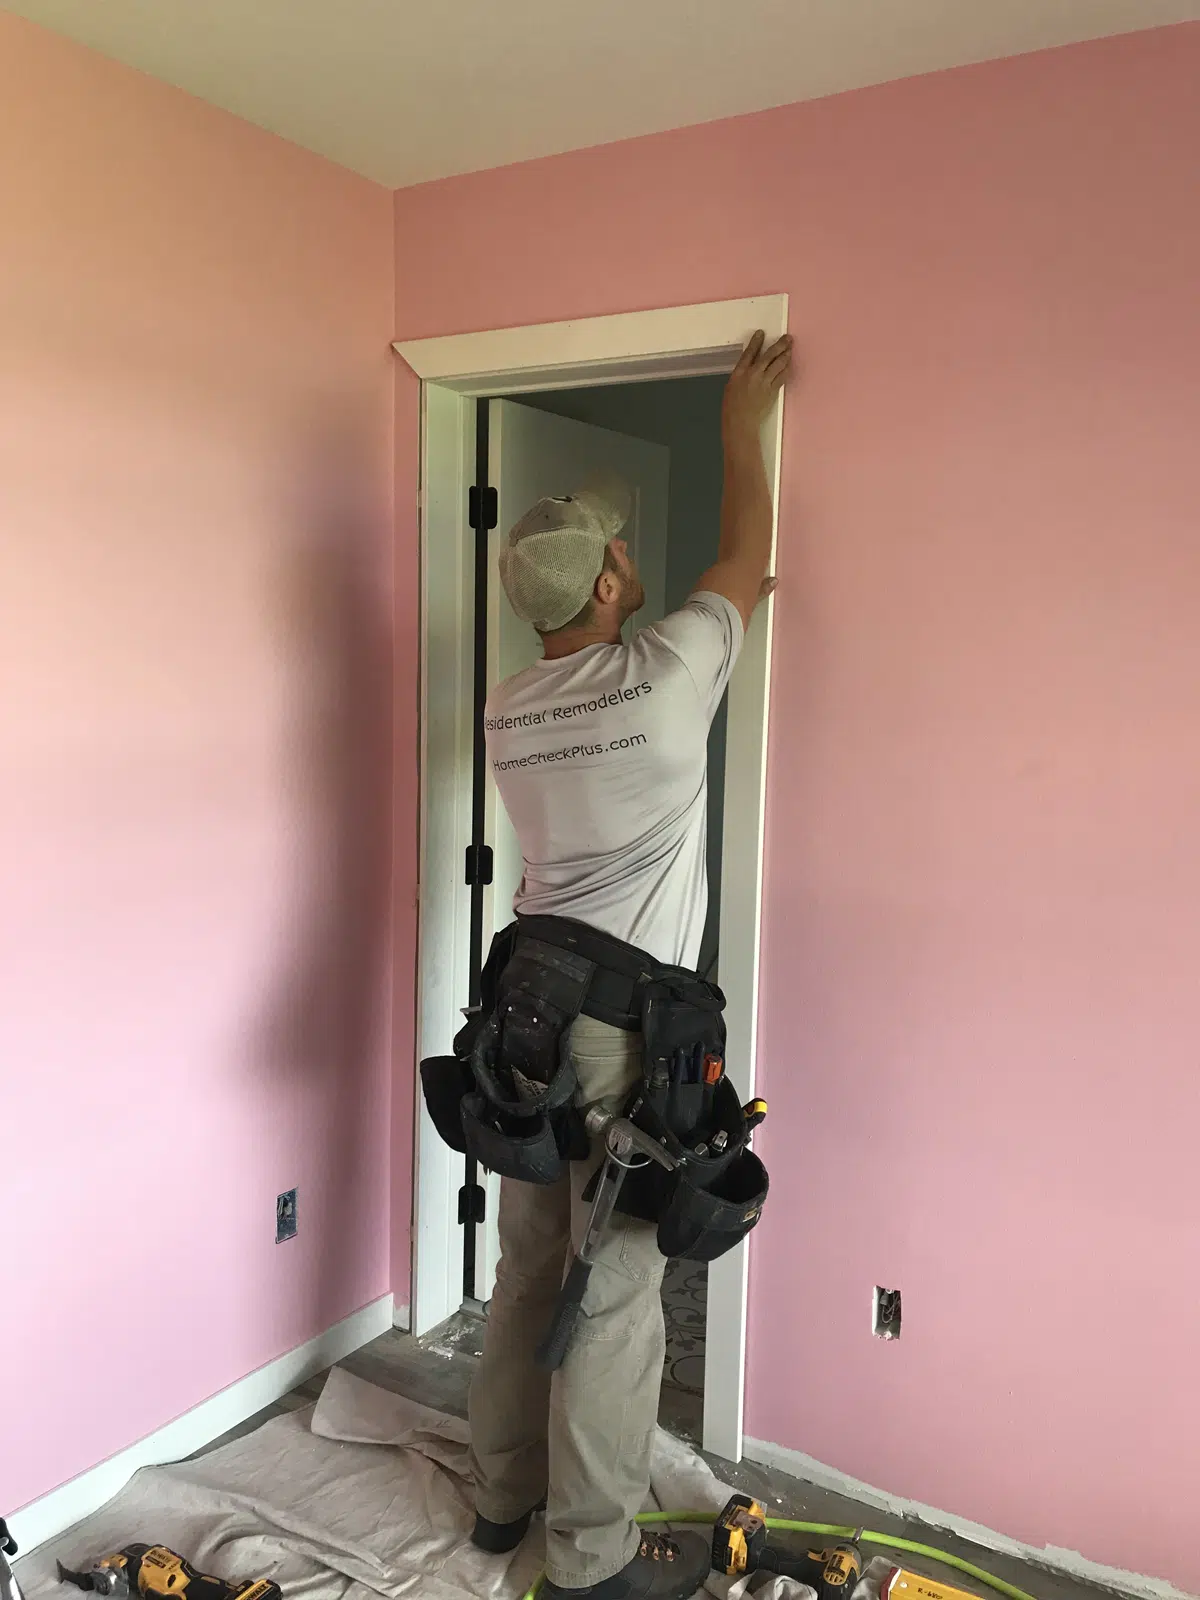
Check Fit
Once the casing is cut, it is best practice is to check the fit and make any necessary adjustments.
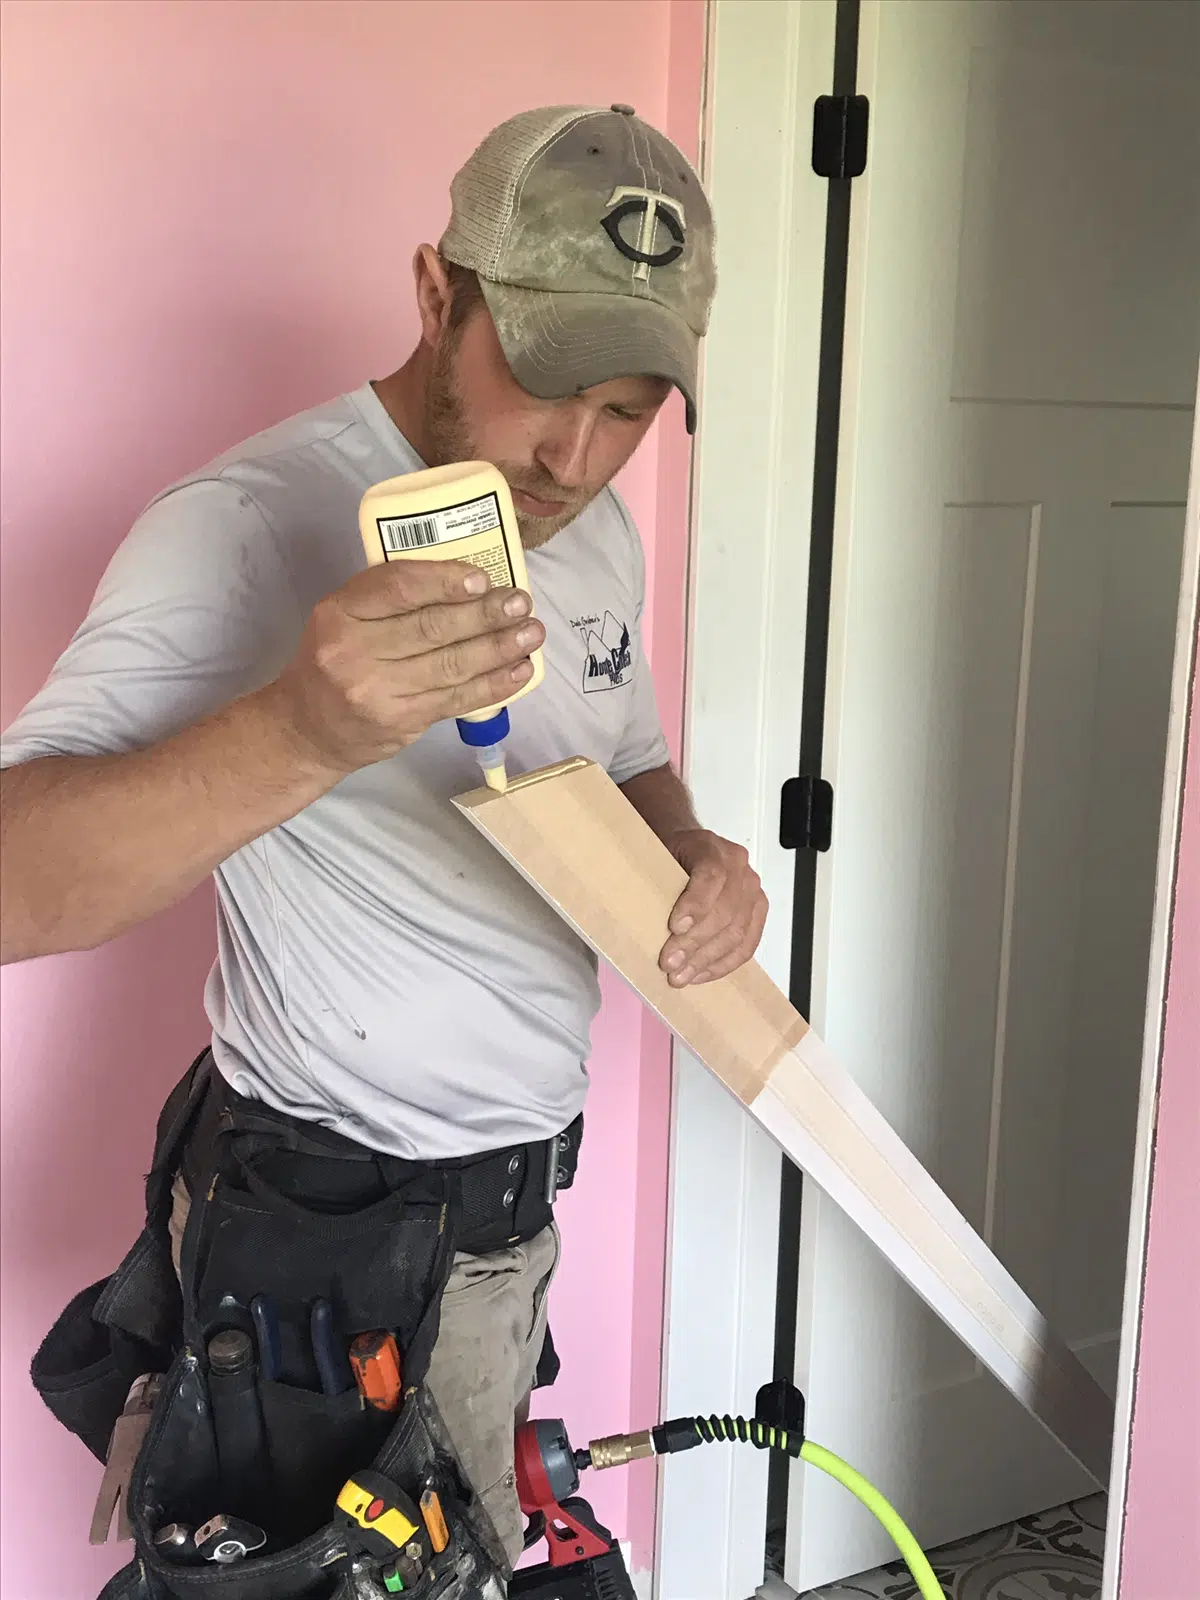
Glue Miter
Gluing the miters together reinforces the attachment.

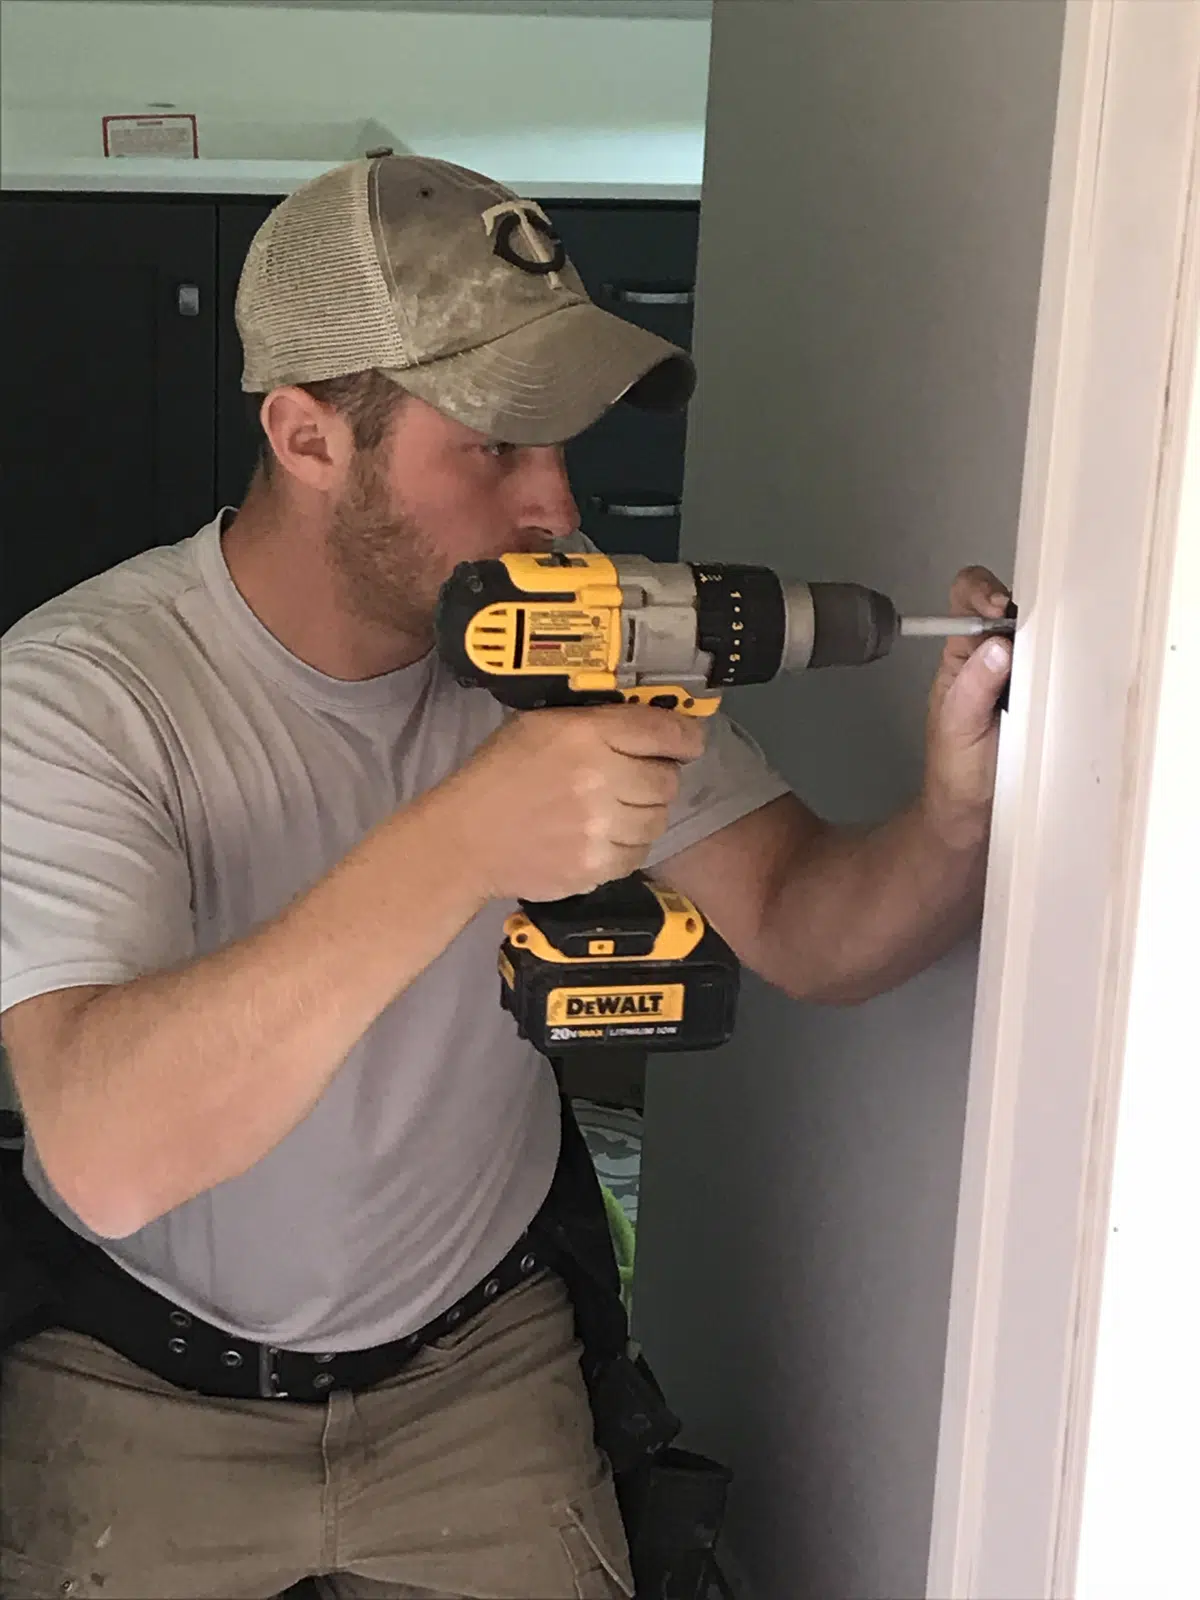
Attach Side Casing
For best results, we recommend starting at the top and work your way down; following the same nail pattern.

Install Other Side Casing
Repeat the same steps to install the door casing on the other side.
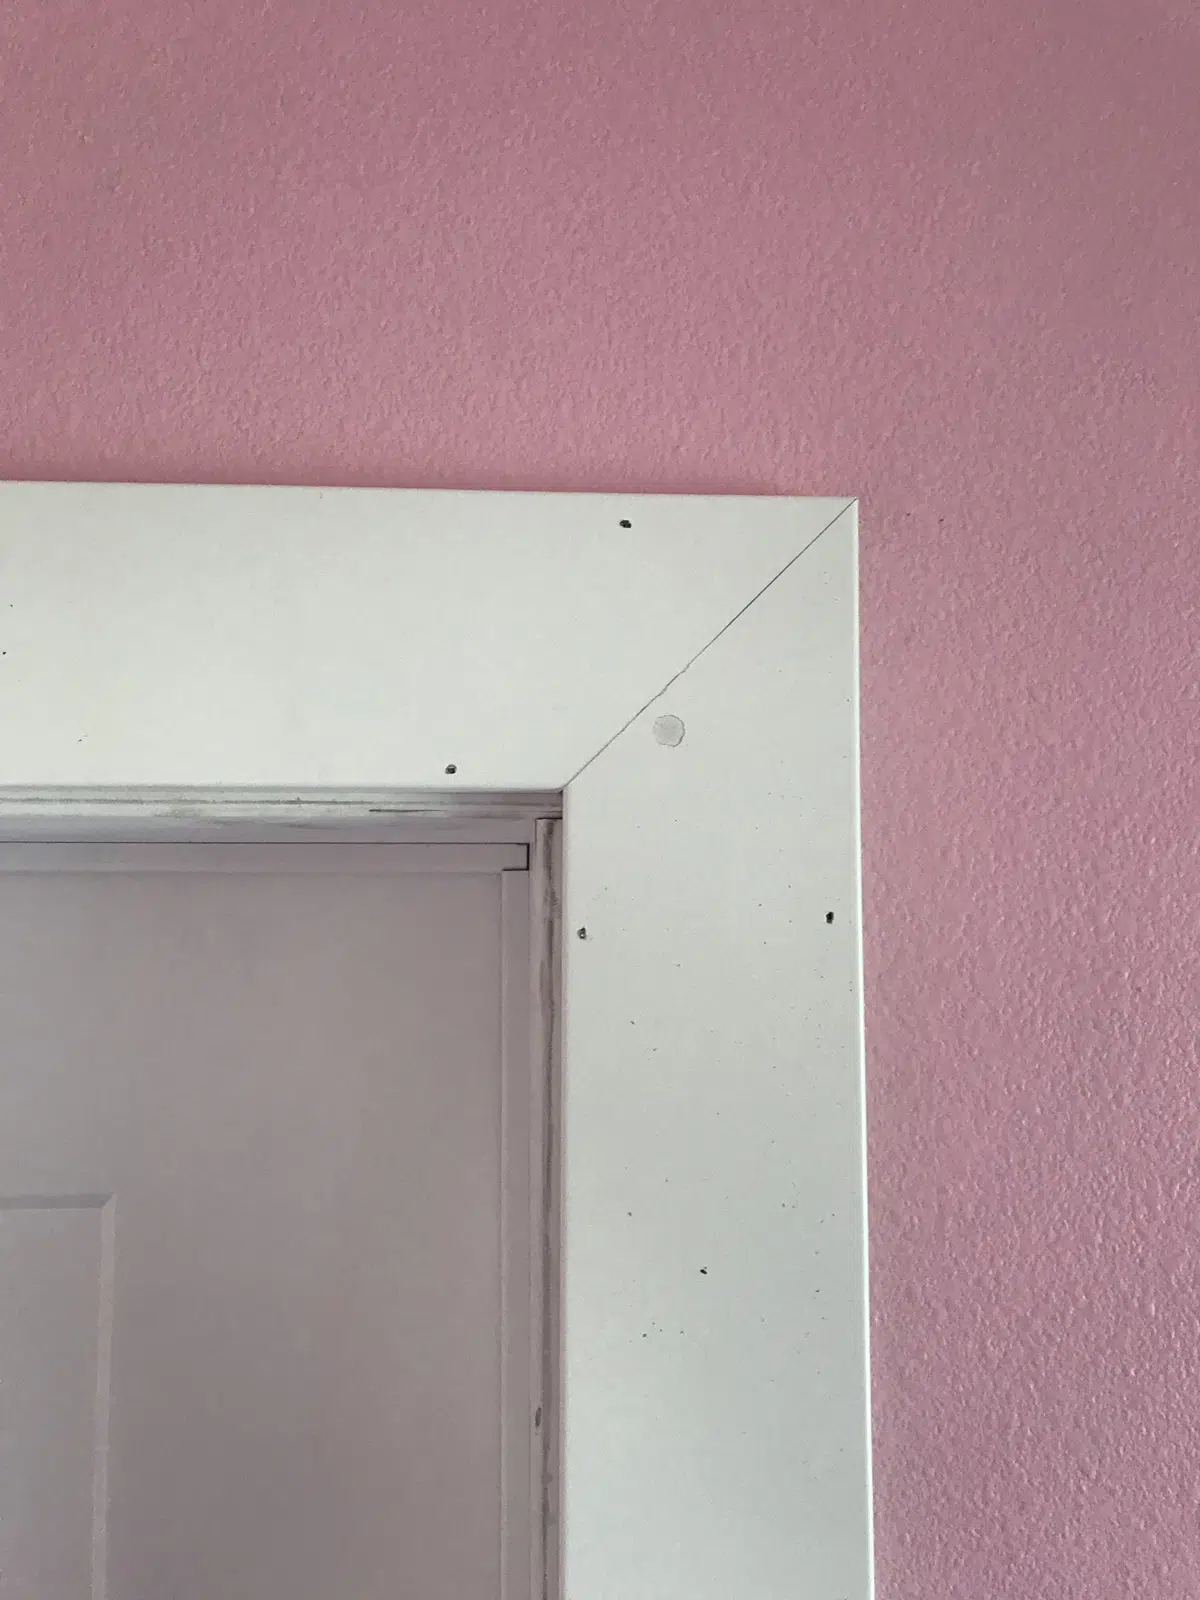
Casing Details
A closer look shows the detail work – tight miter and nail pattern.

Finishing Touches
The next step is putty the nail holes – you want the putty to be flat or level with the casing, no indent. A second coat of paint is then applied to the casing and door frame; creating a nice, clean finished look.
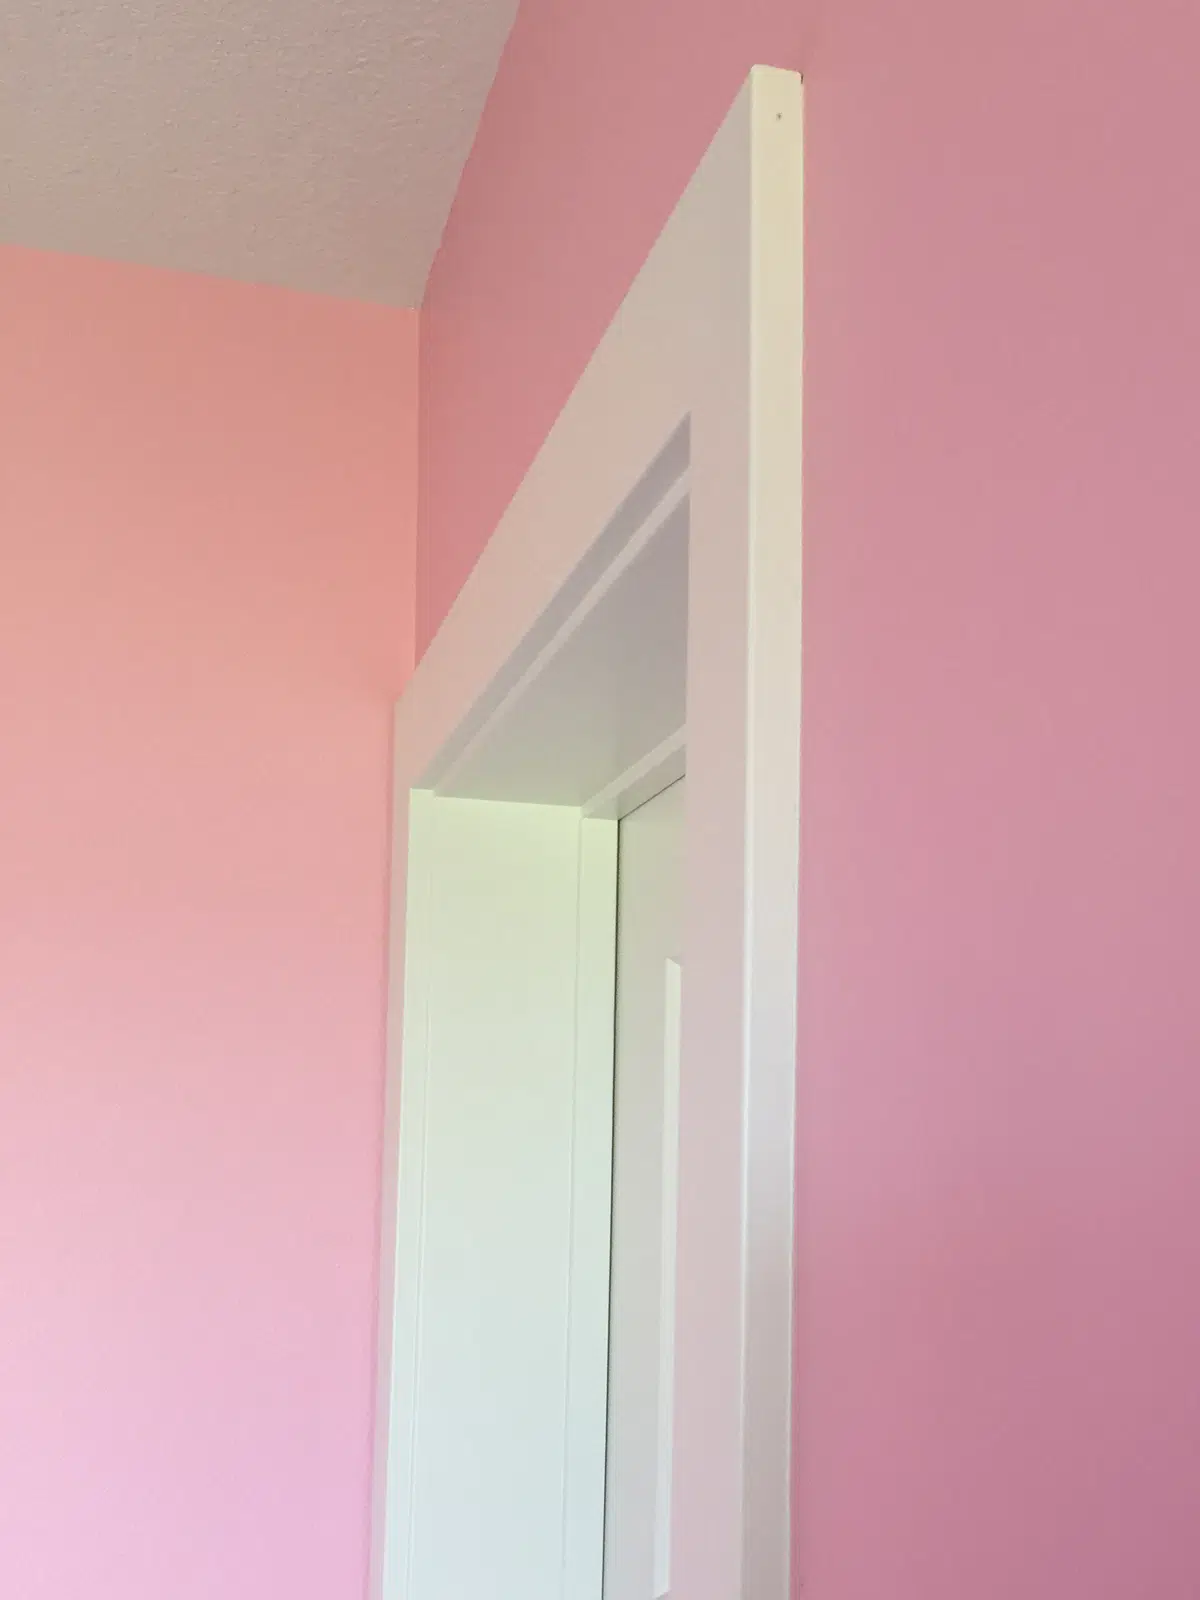
Quality Casework
Properly finished casework will not only have tight miters, but will also fit tightly against the wall and door frame – no gaps!
Door Hardware Installation
Installing the door hardware — handle and striker plate is pretty straight forward. We test for a secure closure – no one likes a rattling door.
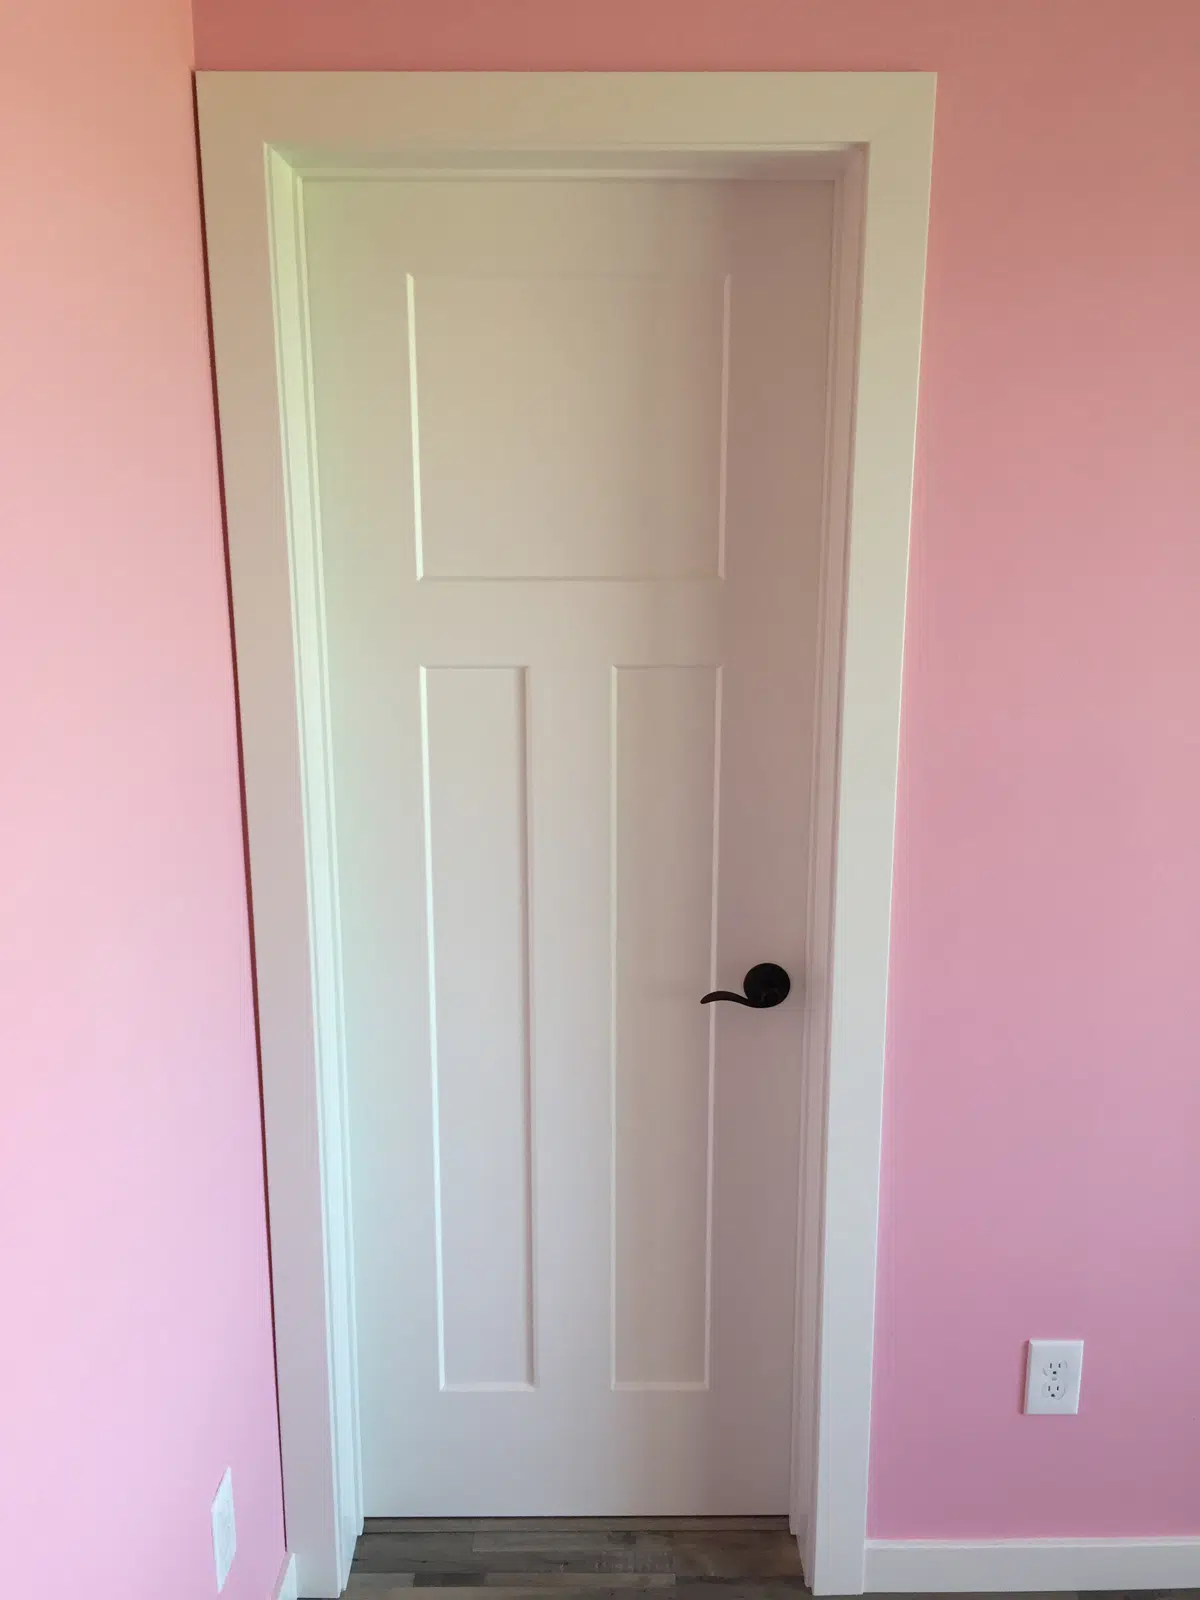
Finished Door
There you have it – beautiful door & casing…finish carpentry at its finest.
Our highly skilled carpenters can tackle your finish carpentry project…give us a call 320-251-4956 or email info@dalegruberconstruction.com.
