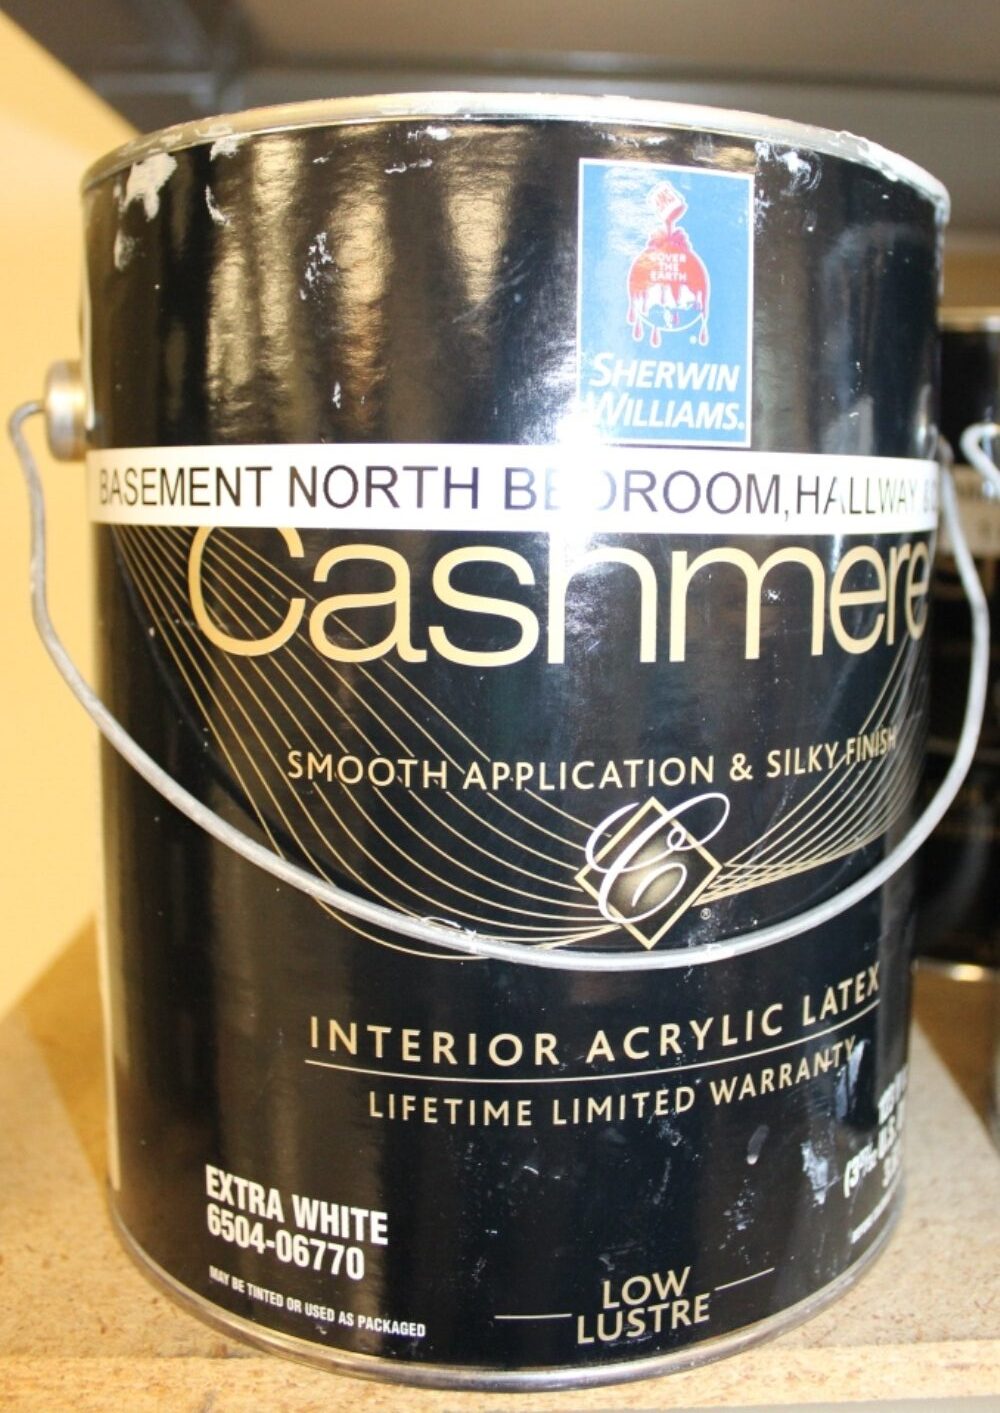
1. Picking a Paint Color
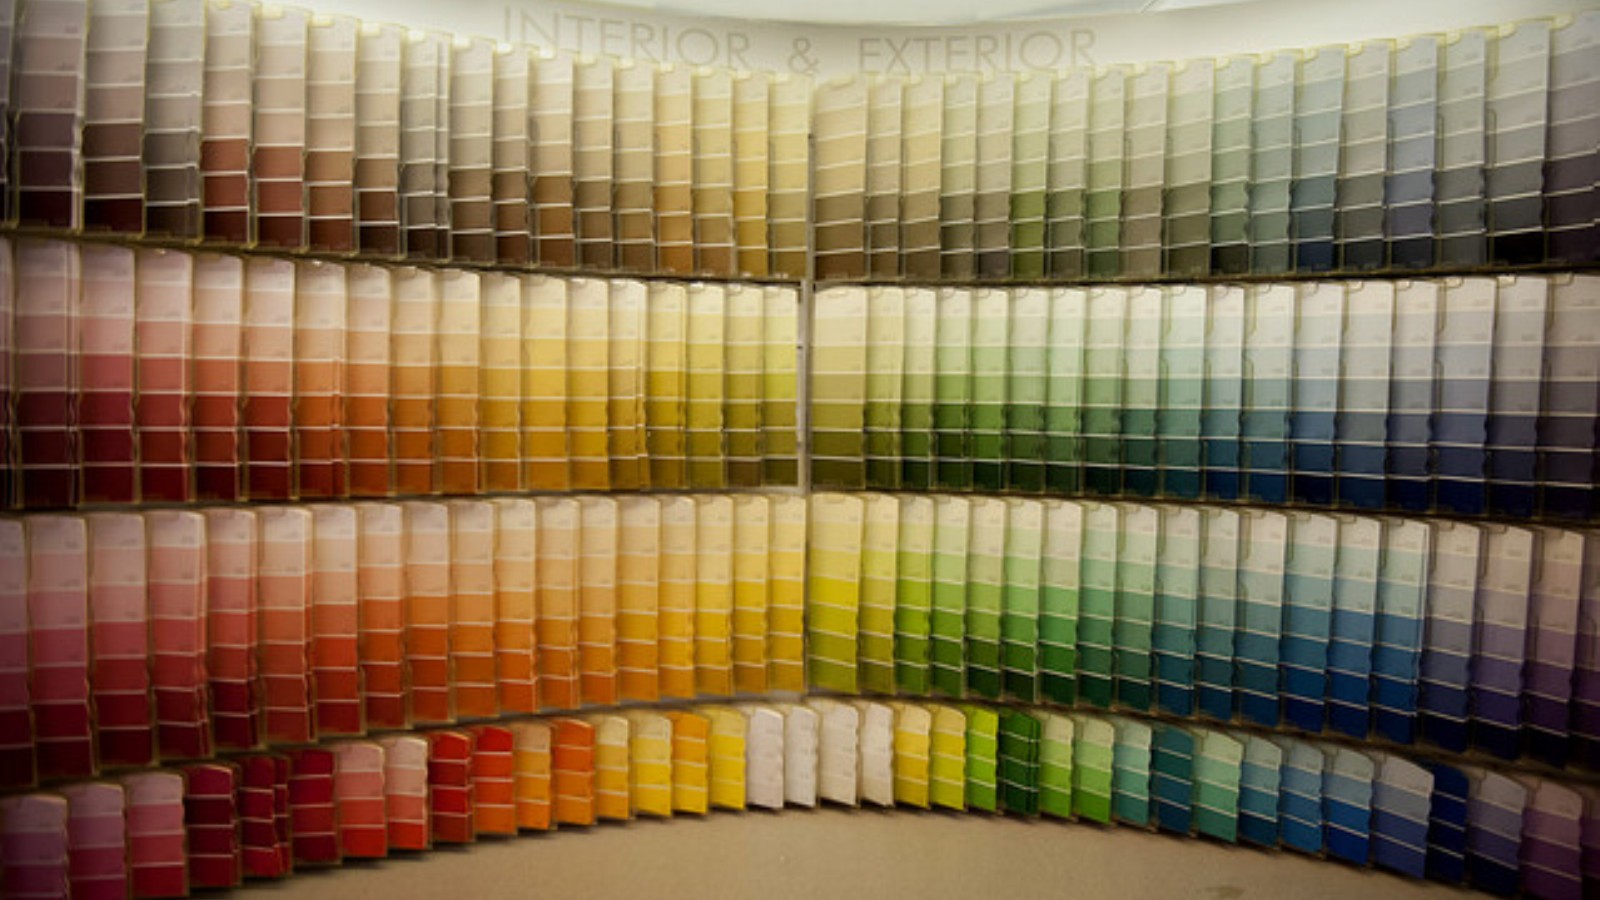
It is really difficult to tell how an entire room will look just by a small paint swatch. We highly recommend buying a few samples to see how they look in the room and at different times of the day. Sherwin Williams also has a neat color visualizer tool. Click here to check it out.
2. How much paint to buy
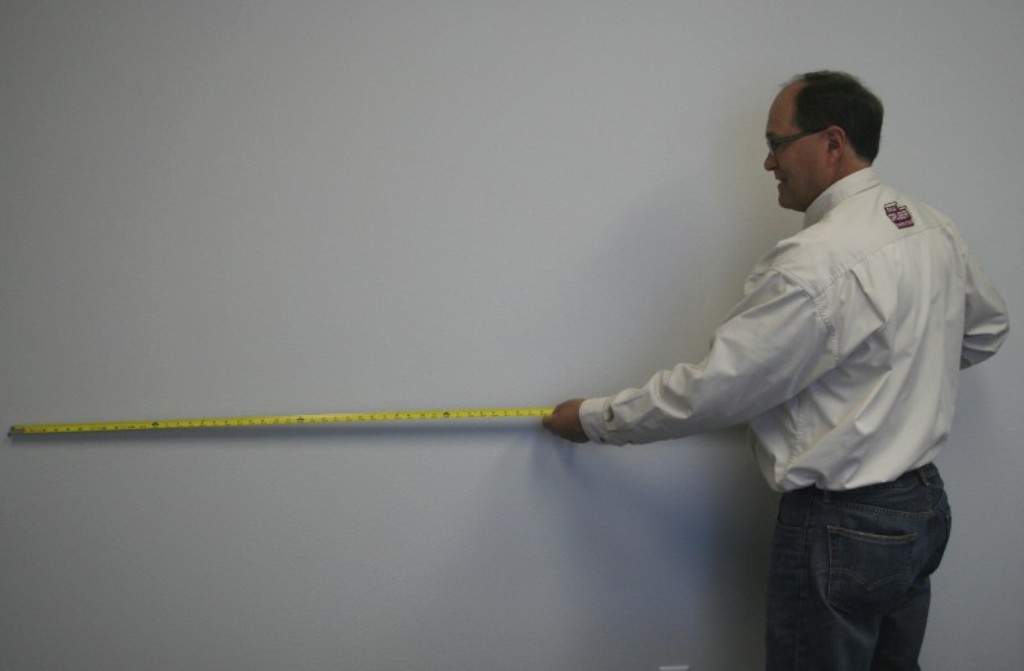
It is important to buy ALL the paint you will need for a room prior to starting. If you underestimate the quantity, you run the risk of the next batch of paint not matching your existing paint. Measure the height and length of the room, then add up the square footage. Generally speaking one gallon of paint covers 250-350 sqft. Factors such as wall texture and paint color will affect the amount of paint needed.
3. Wall prep
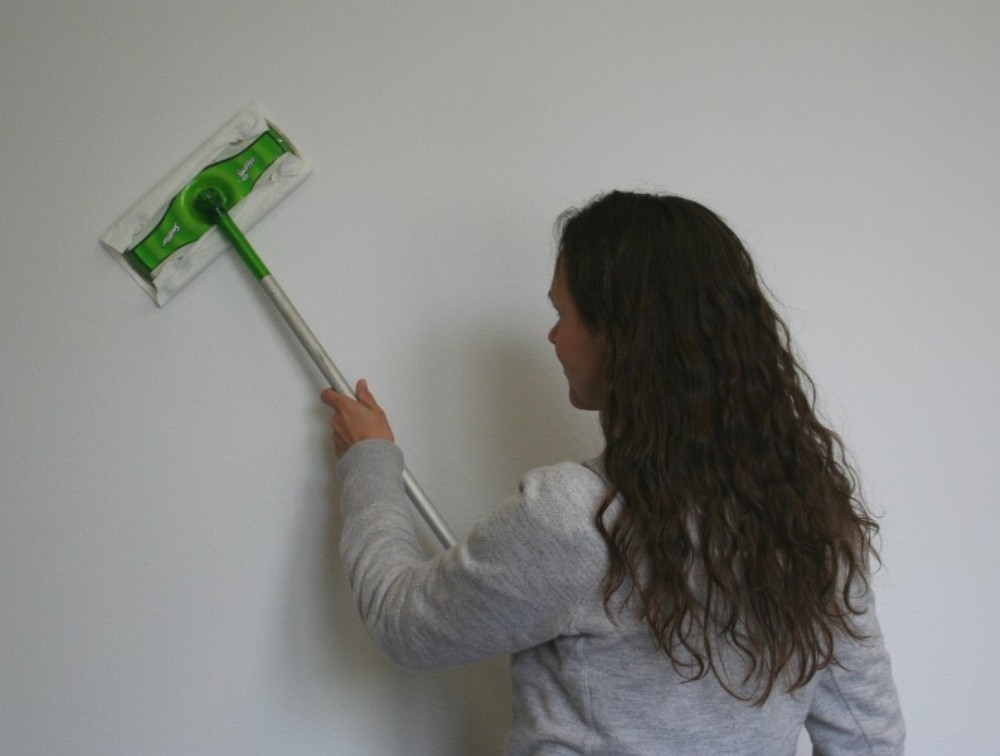
To get the best results, wipe down the walls prior to painting. Using a swiffer works wells for this task. This way any dust or dirt is removed and not buried under the paint.
4. Drop cloths
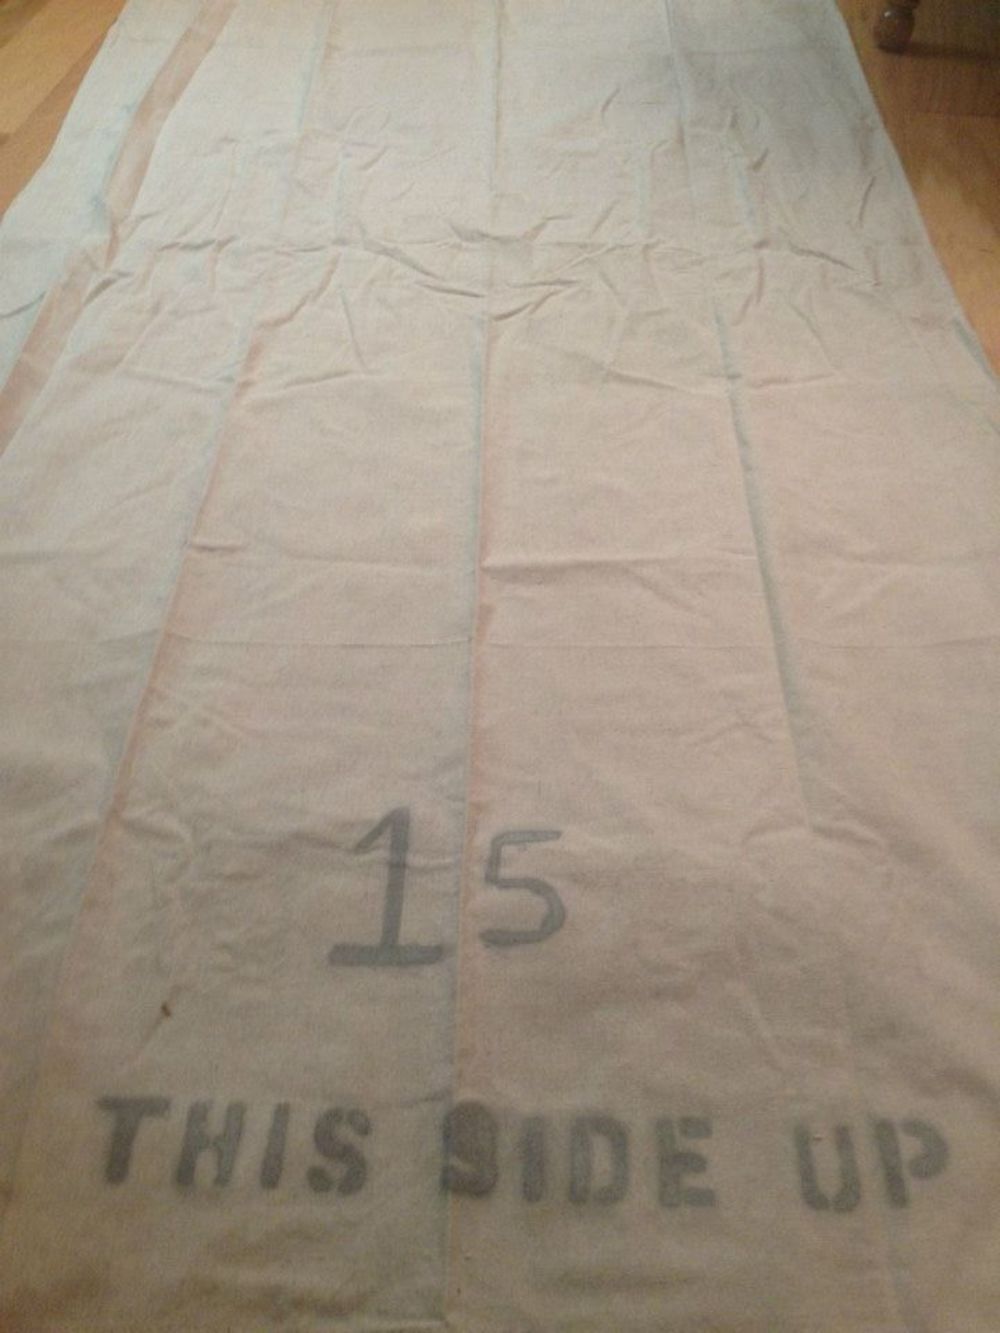
Using drops cloths can save yourself from having to replace your carpet; especially if you are using free labor (aka your kids). Label your drop cloths so you know which side is clean & safe to place on your floor and which side should always face up!
5. Paint Vertically
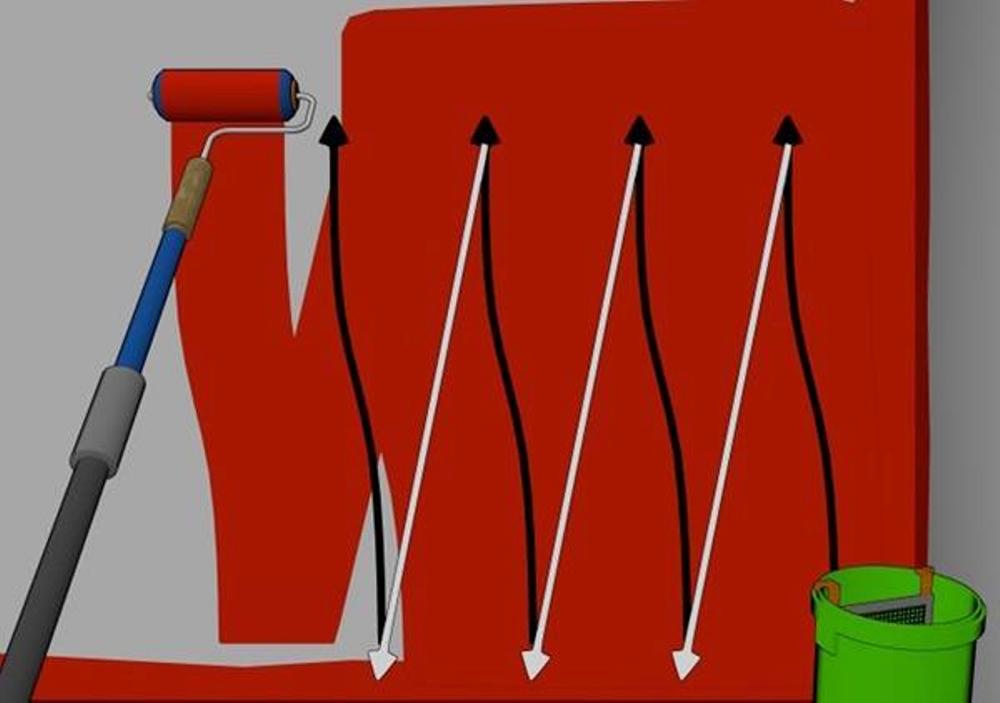
This may seem obvious for some, but you want to make sure to roll the paint on vertically in a slight “W” pattern.
6. Cutting In
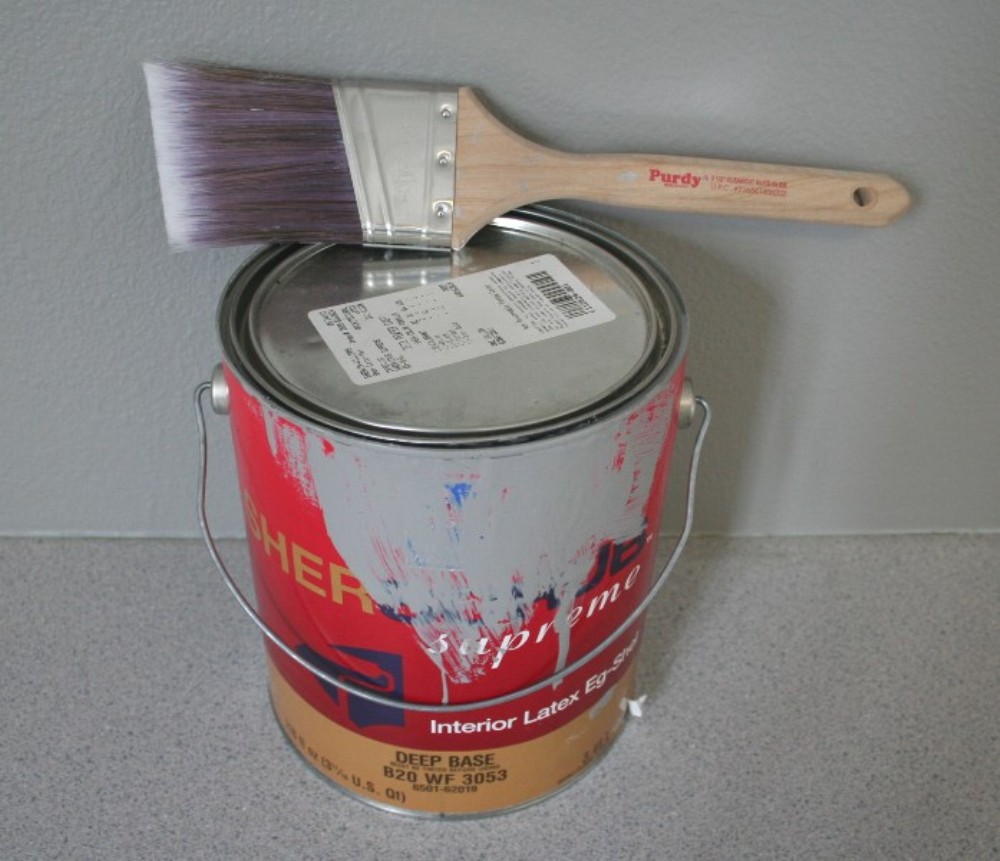
For cutting in, it is best to use an angled 2″-2.5″ brush. Also, cutting in as you go versus waiting until you’ve rolled the entire room, prevents color variations.
7. Taking breaks
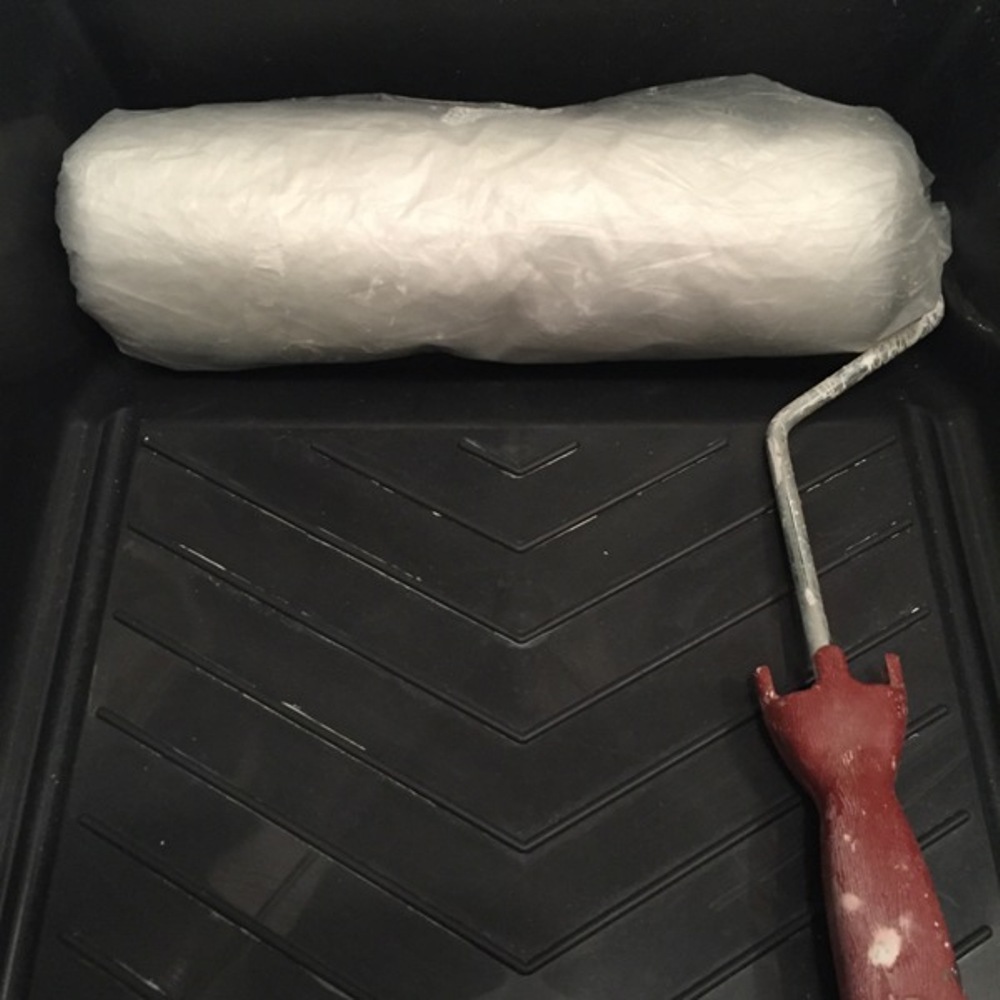
Need to take a break? A simple trick is to wrap your roller with Glad wrap – it prevents the paint from drying.
8. Minimize hassle on small jobs
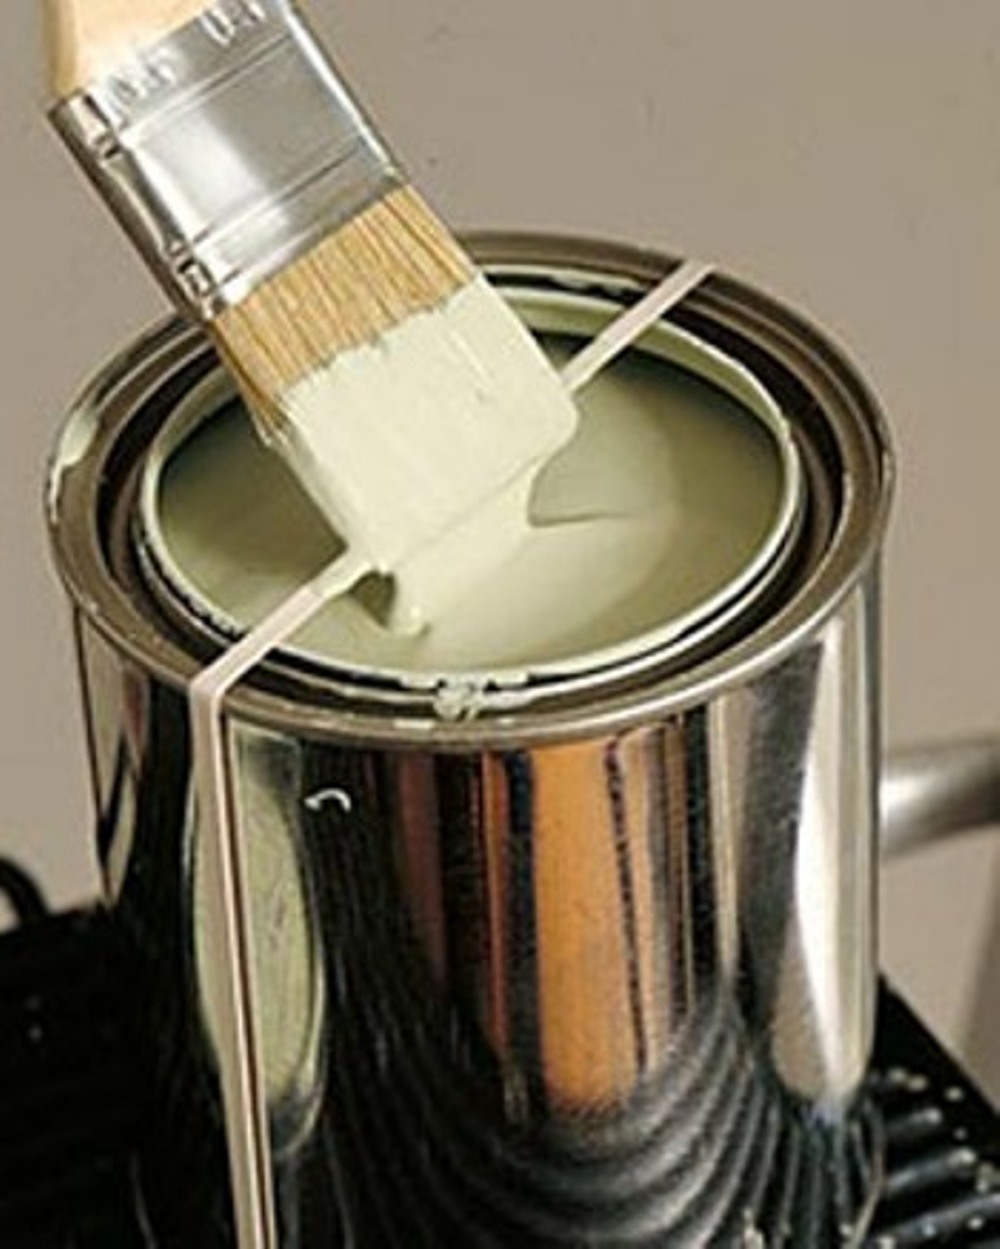
If you’re just doing a touch up or small job, you might not want to go through the entire process of pouring paint into the tray, etc. Placing a rubber band around the can is a great solution to eliminate extra paint on the brush.
9. Take the tape off
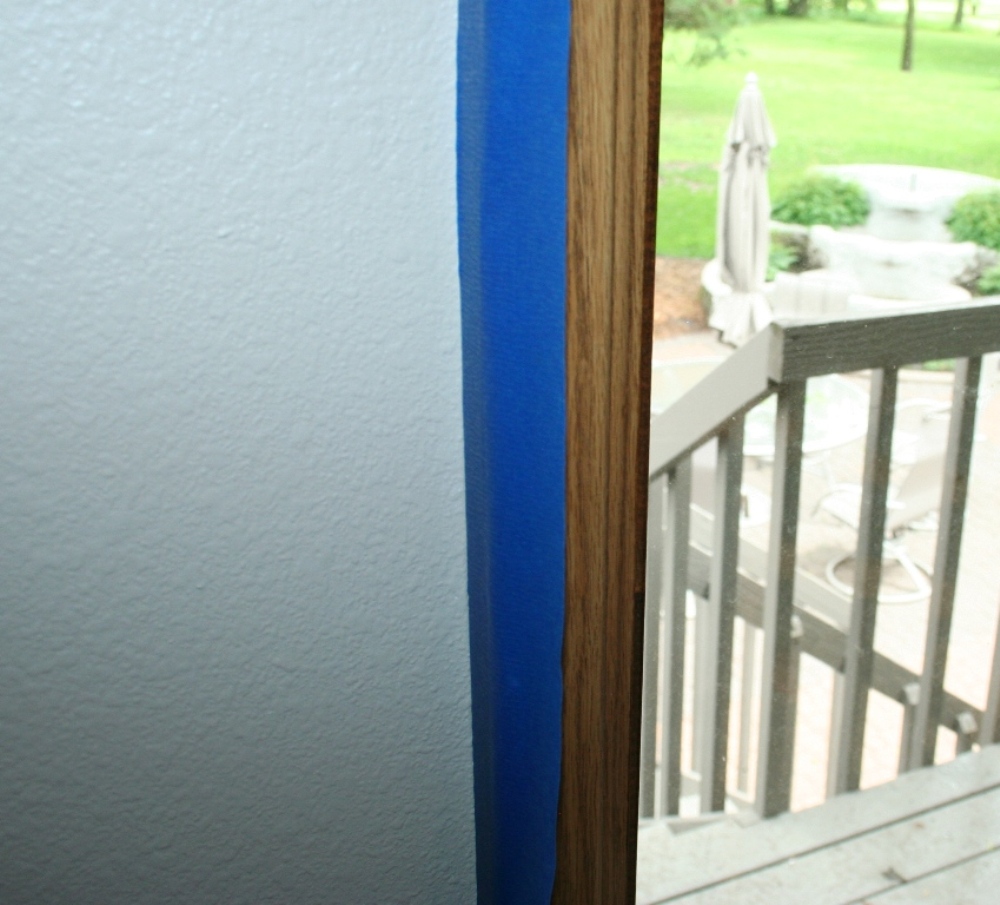
Mask off areas with blue painters tape. We suggest removing the tape soon after you finish the project, so you can check for any paint. Do so at a 45 degree angle and moderate pace.
10. Label your paint
Place a little dollop of the paint color on the top of the lid and also label the room where it was used, so you know in the future.
